
I am going to tell you something most solar kit reviews leave out: the first weekend I ran this kit, I thought it was broken. My battery gauge sat at the same number all afternoon while the sun beat down on the roof. I had spent a whole afternoon running the cables, I had checked every MC4 connection twice, and the charge controller just sat there and the battery voltage did not change. It turned out the kit was doing exactly what it was supposed to do. My battery was already full. That is the kind of thing nobody tells you about going solar, and it is the reason I am writing this review the way I am.
I am Joanne, I am 58, and I have been camping with solar for about six years. I started with one small panel and a portable power station, then I added gear as I learned. This past season I installed the ECO-WORTHY 200W Solar Panel Kit on my 21-foot travel trailer, and I ran it through the whole camping season from late spring to mid fall. This is the honest version of that experience: what impressed me, what confused me, what I had to fix, and the jobs I would not trust this kit to do.
The Quick Verdict
A well-built, straightforward 200W kit that quietly does its job for modest boondocking, as long as you understand its limits before you buy.
Amazon Check Today's Price →Want to see what the ECO-WORTHY 200W kit costs today?
I have linked the exact kit I installed on my trailer so you can check the current price without digging through search results.
Amazon Check Today's Price on Amazon →How I Have Used It
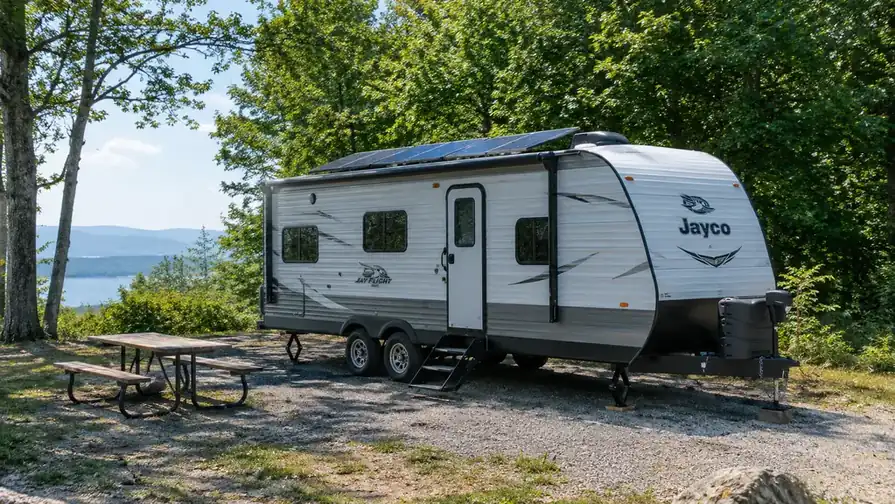
My setup is not fancy. I have a 2016 travel trailer, 21 feet, towed by my pickup truck. I camp in state parks and on boondocking spots around the Northeast, and I cook most of my meals at camp. That means I care about running my small fridge and the occasional low-wattage kitchen appliance. I also run a small 12V fan on warm afternoons for the dogs and the cat, which is one of the reasons steady off-grid power matters to me.
The ECO-WORTHY kit arrived with two 100W monocrystalline panels, two sets of Z mounting brackets, a 30A PWM charge controller, and one pair of 16.4-foot cables. The panels are 35.2 inches long, 23.1 inches wide, and 1.3 inches thick, and the whole thing weighs 31.6 pounds. I mention the weight because I mounted the panels flat on my trailer roof, and I had to think carefully about where the roof supports were before I drilled anything.
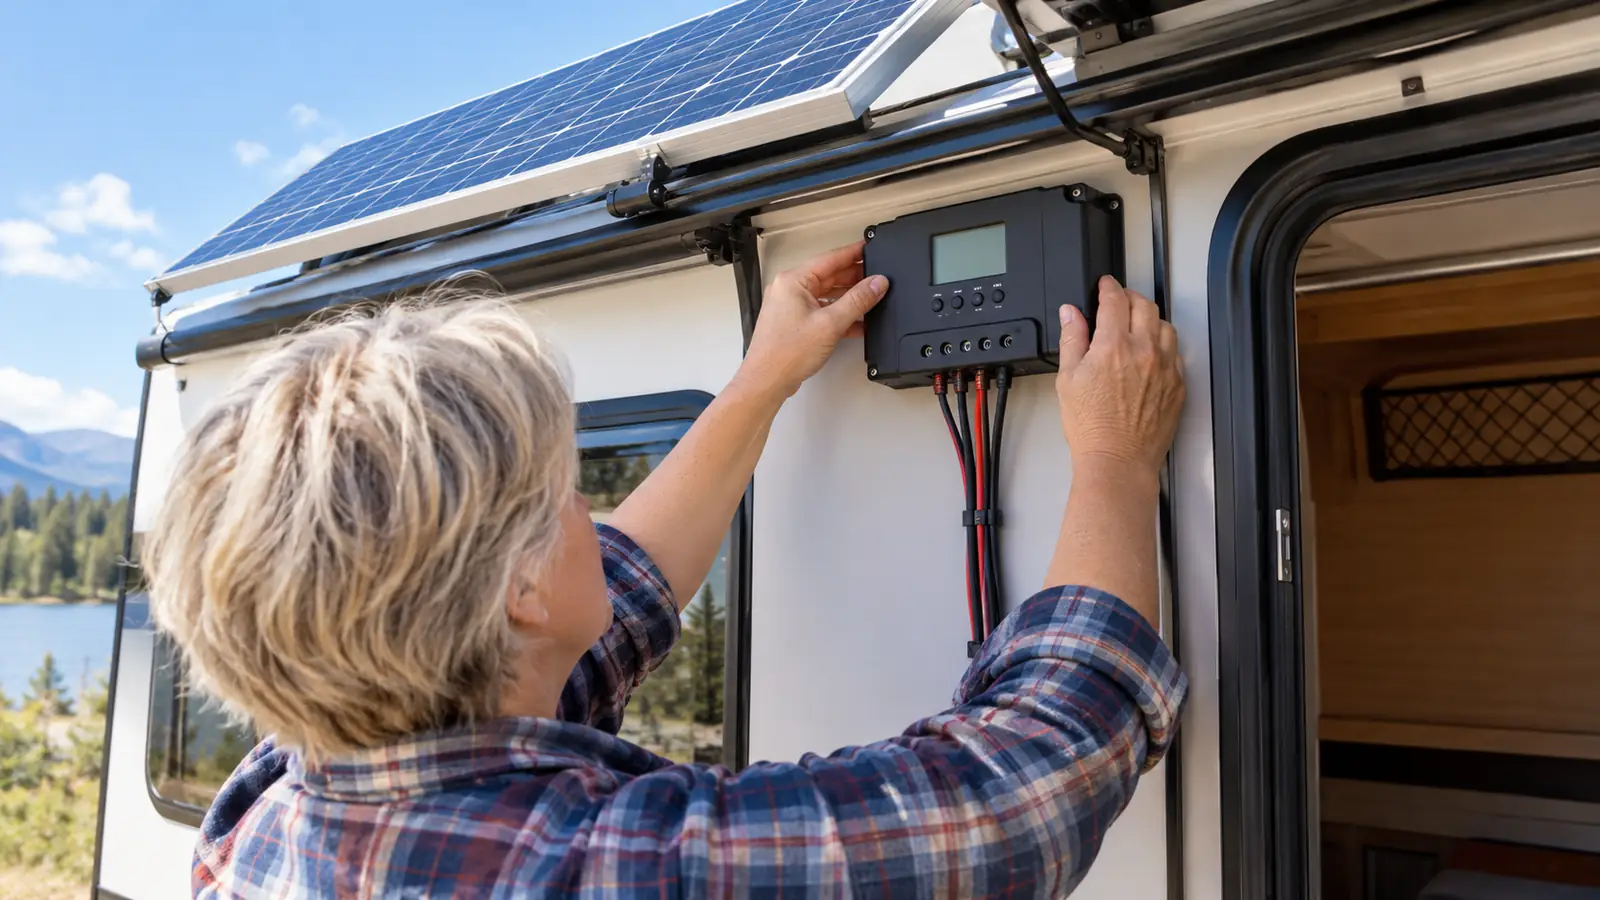
The wiring is genuinely simple. The panels connect with MC4 connectors, which click together with a satisfying snap, and the controller is a straightforward 30A PWM unit. If you have mounted a shelf or changed a car battery, you can install this kit. You do not need to be an electrician, you just need to be patient and willing to read the manual twice.
The install itself took me the better part of a Saturday. I laid both panels out on the driveway first, connected them with the MC4 connectors, and set them in the sun to confirm the controller was working before I touched the roof. That dry run saved me. I found one connector that had not clicked all the way home, and fixing it on the ground took thirty seconds. On the roof it would have meant crawling back down for a tool. When I did go up, I marked the roof supports with chalk by tapping along the decking, drilled pilot holes, and bedded every Z bracket in sealant. The 1.3-inch frame is thin enough that the brackets sit flat, and the 31.6-pound total weight is manageable for one person to haul up a ladder, though I would not want to do it twice in one day.
What Nobody Tells You Before You Buy
Here is the first thing I wish someone had told me: a 200W kit is not a lot of power. The listing says the kit can produce around 800 watt-hours per day under four hours of full sunshine, and in my experience that claim is roughly honest for a good sunny day in the Northeast. But 800 watt-hours is not magic. My small fridge alone can eat a big chunk of that before I make coffee. You are not going to run an air conditioner, a space heater, or a microwave on this kit. Anyone who tells you otherwise is selling you something.
The second thing nobody tells you: the 12V/24V system voltage matters more than you think. This kit can run on a 12-volt or a 24-volt battery bank, and you need to set the controller for your system before you rely on it. I set mine for 12 volts of direct current, which is what my trailer uses. If you have a 24-volt system, the same panels work, but you have to configure the controller correctly or you will wonder why your batteries are not charging.
The third thing is the one that almost made me return the kit. The included 30A PWM charge controller is fine, but it is not smart. It does not have the advanced tracking that more expensive MPPT controllers have, which means in real-world partial shade, you leave some power on the table. On a completely sunny day with the panels flat on the roof, I could not tell the difference. But on a partly cloudy afternoon, the battery recovered more slowly and I wished I had a controller that could squeeze more out of the panels.
The other thing I did not expect is how much my battery choice matters. The kit outputs 12 volts of direct current, and my trailer runs on a 12V house battery, so the pairing was simple. But the controller only manages what the battery can accept. On the first warm weekend, the voltage climbed and I assumed everything was fine. What I did not understand is that my old battery was tired, and a tired battery fills up fast and empties faster. The panels were fine. The battery was the weak link. If you are putting this kit on an aging battery, budget for a new one or you will blame the panels for a problem that is not theirs.
The kit is not the problem. The problem is that nobody tells you 200 watts is a starting point, not a magic number.
What It Actually Runs
Let me give you a real day. On a typical boondocking morning, my fridge runs overnight, and the battery starts the day down a bit. By late morning, the ECO-WORTHY panels are putting power back in, and by early afternoon the battery is back up to a healthy charge. I can run the fridge, the 12V fan for the animals, LED lights in the evening, and charge my phone and a small tablet. That is the honest envelope of this kit: a modest trailer lifestyle with a small fridge and low-wattage devices.
What it will not do is rescue you after a string of cloudy days. I had a stretch last fall where the sun did not really show up for three days, and I found myself driving to a coffee shop to charge my phone. That is not a flaw in the panels. It is the reality of a 200W system with no shore power and no backup. If you camp mostly in sunny places or you only need to keep a battery topped up, this kit is plenty. If you need to run heavy appliances off-grid, you need more panels, a bigger battery bank, or both.
The panels themselves are the best part of the kit. The monocrystalline cells are rated to deliver up to 21.5% efficiency, and the aluminum frame is corrosion-resistant, which matters when you are parked near the coast or on damp ground all season. The listing says the frame can withstand strong wind, and after a few gusty nights in open fields, I believe it. The panels feel solid, the brackets held, and nothing rattled loose on the highway.
One Saturday in late July is the day I would point to if you asked me what this kit can do. The morning was clear, the site was open, and by noon the battery was full. I ran the fridge all day, made coffee with a low-wattage pour-over kettle, kept the fan going for the animals through the hot part of the afternoon, and charged both my phone and my tablet. The sun did the whole job. That same weekend, a neighbor with the same size trailer and no solar was running his generator for an hour every evening. I did not miss the noise or the fuel. That is the honest argument for a kit like this one.
I also learned to stop guessing and start measuring. My fridge draws somewhere in the neighborhood of 40 to 50 amp-hours a day in warm weather, which is a big share of what the panels bring in. Once I knew that number, I stopped expecting the kit to do more than it can. I started the day with the fridge, and everything else came after. That single habit, knowing the biggest draw and planning around it, made the difference between a battery that was low by evening and one that was still comfortable at bedtime.
What I Had to Fix
I do not want to pretend this was a flawless install. My first mistake was mounting the panels too close to the front of the trailer, where the roof curves. The Z brackets did their job, but the panels sat at a slightly awkward angle and caught more wind noise than I liked. I moved them back a foot, and the problem went away. That was my error, not the kit's, but it is the kind of thing a first-time installer will run into.
My second fix was the cables. The kit includes one pair of 16.4-foot cables, and on my 21-foot trailer, that was exactly enough to reach from the roof to the battery compartment. It was also exactly enough to make me wish I had ordered a longer pair so I could route them more cleanly. The 10 AWG wire is thick enough for the current, but give yourself some slack. You will want it when you are routing around a roof vent or a skylight.
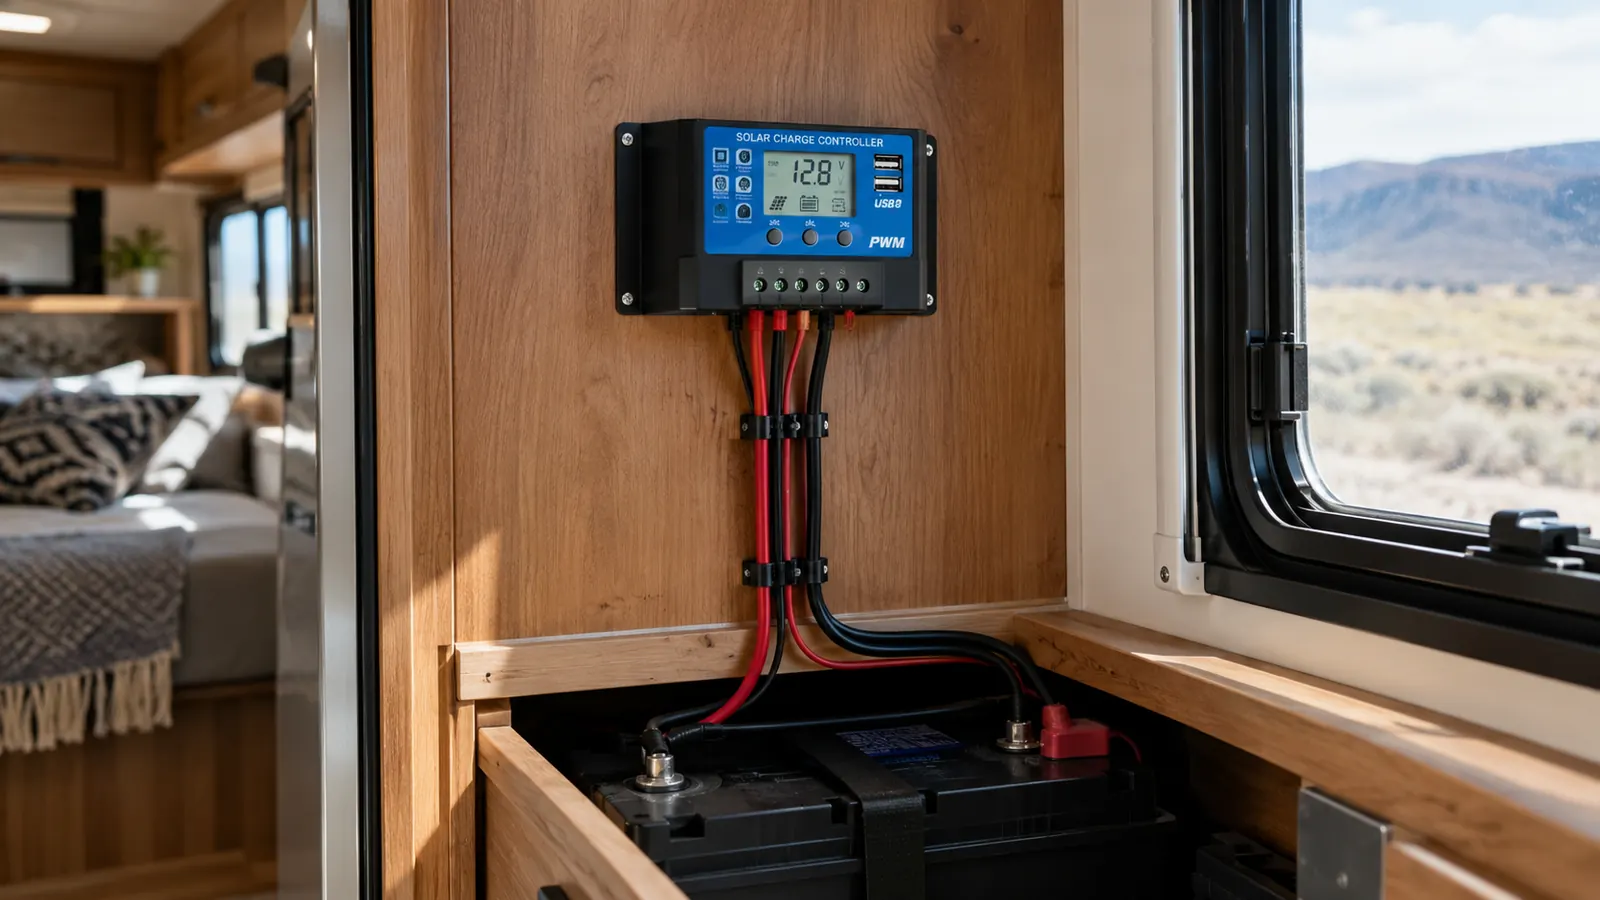
The third thing I fixed was the controller mounting. The 30A PWM controller is small and light, so I mounted it on a wooden wall inside the trailer near the battery compartment. That worked well, but I wish I had run the wires in a little conduit instead of letting them hang loose. Nothing broke, nothing shorted, but it looked messy, and messy wiring is harder to troubleshoot later. Take the extra hour to make it neat and label your cables. Future you will be grateful.
The one repair that actually involved the kit was a loose connection at the controller. After a rough stretch of dirt road, the negative wire worked its way loose enough that the charge dropped to nothing. I tightened the terminal, and it has not happened since. The lesson was simple: check the connections after you tow, not just after you install. A 200W system is small enough that one loose wire is the difference between a full battery and a dead one.
What I Liked
- Two 100W monocrystalline panels that are genuinely easy to mount and aim
- Simple MC4 connections and a straightforward 30A PWM controller that a first-timer can install
- Corrosion-resistant aluminum frame that has held up through a full season of weather
- Includes Z brackets and one pair of 16.4-foot cables, so you are not hunting for parts
- Honest 800 watt-hours per day estimate that matched my real-world sunny days
Where It Falls Short
- The PWM controller leaves power on the table in partial shade
- One pair of 16.4-foot cables is exactly enough and no more
- 200 watts will not run an air conditioner, space heater, or microwave
- The controller is not smart enough to recover a deeply discharged battery quickly
Who This Is For
This kit is for the camper who wants to keep a small fridge running, charge a phone and a tablet, run a few LED lights, and maybe power a small fan on a warm afternoon. It is for the person who camps in places with decent sun and who understands that a 200W system is a tool with a job, not a solution to every power problem. If you are new to solar and you want a kit that is genuinely simple to install, with real MC4 connectors and a controller that is easy to understand, the ECO-WORTHY 200W kit is a reasonable place to start.
It is also for the person who wants to learn without spending a fortune. The ECO-WORTHY kit is priced like a starter system, and it behaves like one. You will learn what your fridge actually draws, what a cloudy day does to your battery, and how much sun your campsite really gets. That education is worth something, and this kit delivers it without overwhelming you.
Who Should Skip It
If you need to run an air conditioner, a microwave, a coffee maker, or anything with a heating element, skip this kit. You need more panels, a bigger battery bank, and probably a higher-end controller. If you camp mostly in deep shade under heavy tree cover, a 200W kit will frustrate you. And if you want maximum power from every scrap of light, the PWM controller will leave you wanting more. That is not a flaw in the ECO-WORTHY kit specifically, it is the nature of a PWM controller at this price.
I would also tell someone with a big fifth wheel or a motorhome to think carefully before buying. My 21-foot trailer has a modest electrical appetite. A larger rig with a residential fridge and entertainment systems will chew through 200 watts quickly. For that job, you are better off looking at a larger kit or a system with a more advanced controller.
Ready to start with a simple, honest 200W setup?
The ECO-WORTHY kit is the one I installed, and I have linked it here so you can check today's price and see if it fits your rig.
Amazon Check Today's Price on Amazon →