
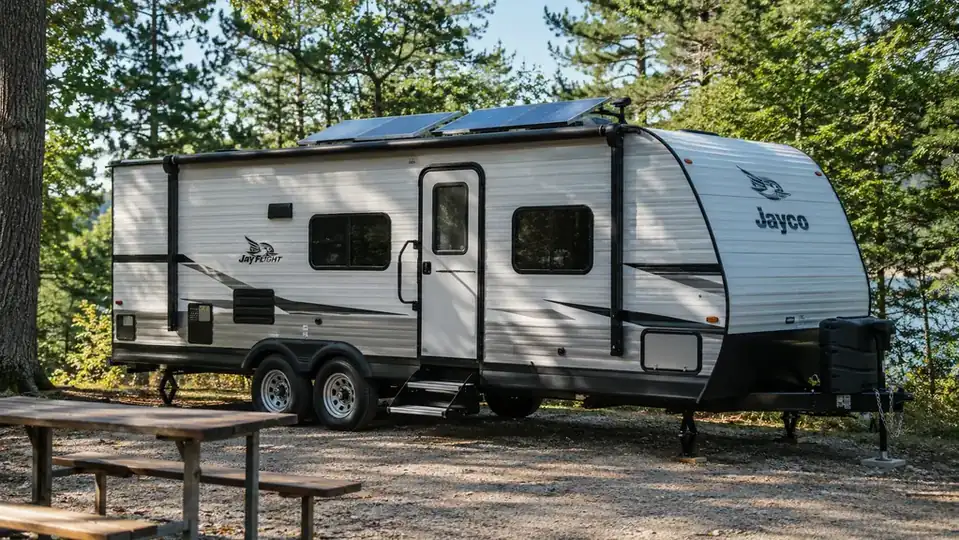
There is a moment every camper knows. You pull into a beautiful spot, set up camp, and then realize the house battery is too low to run the fan for the dogs on a warm afternoon. I have been there more than once, and I am Joanne, a retired school bus mechanic who has spent about six years camping with solar. Most of that time has been in my 21-foot travel trailer, towed by my pickup truck, through state parks and boondocking spots in the Northeast. My first solar setup was a single small panel and a portable power station, and it taught me the basics the hard way: a blown fuse, a dead house battery on a cold night, and a lot of reading. When I finally moved up to the ECO-WORTHY 200W Solar Panel Kit, the install took me a weekend, and I have not worried about the battery since.
This guide is the walkthrough I wish someone had handed me that first year. It covers mounting two 100W panels on a travel trailer roof, running the wires down through a roof gland, and connecting the 30A PWM charge controller to the battery. The ECO-WORTHY kit is the gear I recommend because it is the kit I actually use, and it comes with the pieces that matter: two 100W monocrystalline panels, Z mounting brackets, a 30A PWM charge controller, and a pair of 16.4ft 10 AWG cables with MC4 connectors. Before you buy anything, read this first. A little planning saves you a second trip to the hardware store.
Start with a kit that has the right parts in the box
The ECO-WORTHY 200W kit includes two 100W monocrystalline panels, Z mounting brackets, a 30A PWM charge controller, and a pair of 16.4ft 10 AWG cables. That covers the hard part of a first install. Check today's price and availability on Amazon before you start shopping for extra parts.
Amazon Check Today's Price on Amazon →Before you start, here is the honest version: this is a weekend project, not a hard one. If you can use a drill, a wrench, and a tube of sealant, you can do this install. The kit does not include the sealant, the drill bits, or the second person to help you lift, so gather those first.
Step 1: Plan the roof layout before you touch a wrench
Take a tape measure and a notebook up on the roof first. Each panel in the ECO-WORTHY kit measures 35.2 inches long, 23.1 inches wide, and 1.3 inches thick, and the pair together weighs 31.6 pounds. You want them laid out flat, with the long side running with the trailer rather than across it, so the wind has less to grab. Mark the mounting spots with chalk, then step back and look at the whole roof. You are aiming for a layout that leaves a clear path for the wires to run to the edge of the roof and down the side of the trailer. On a 21-foot trailer you have room to spread the panels out, but you also have vents, antennas, and roof seams to work around.
Check what is already on your roof before you drill anything. Vents, antennas, and the tape over the roof seams all need to stay clear. On my trailer, the vent fan sits near the middle of the roof, so I set both panels toward the front, behind the fan, with the Z brackets holding them about an inch off the roof. That gap matters. It lets air move under the panel and keeps water from sitting against the aluminum frame. The frame itself is corrosion-resistant aluminum alloy, which is exactly what you want on a roof that sees rain, snow, and road salt.
One thing I tell every first-timer: dry-fit the brackets before you commit. The Z mounting brackets in the kit attach to the panel frame, so set the panel where it will live, hold a bracket against the frame, and confirm you can reach the bolts with a wrench. It is far easier to change the layout on the ground than it is after the first hole is drilled. I also mark the location of every roof penetration on a sketch, because I keep that sketch in the trailer manual and it saves time when I need to reseal or remount something years later.
Step 2: Mount the Z brackets and set the panels
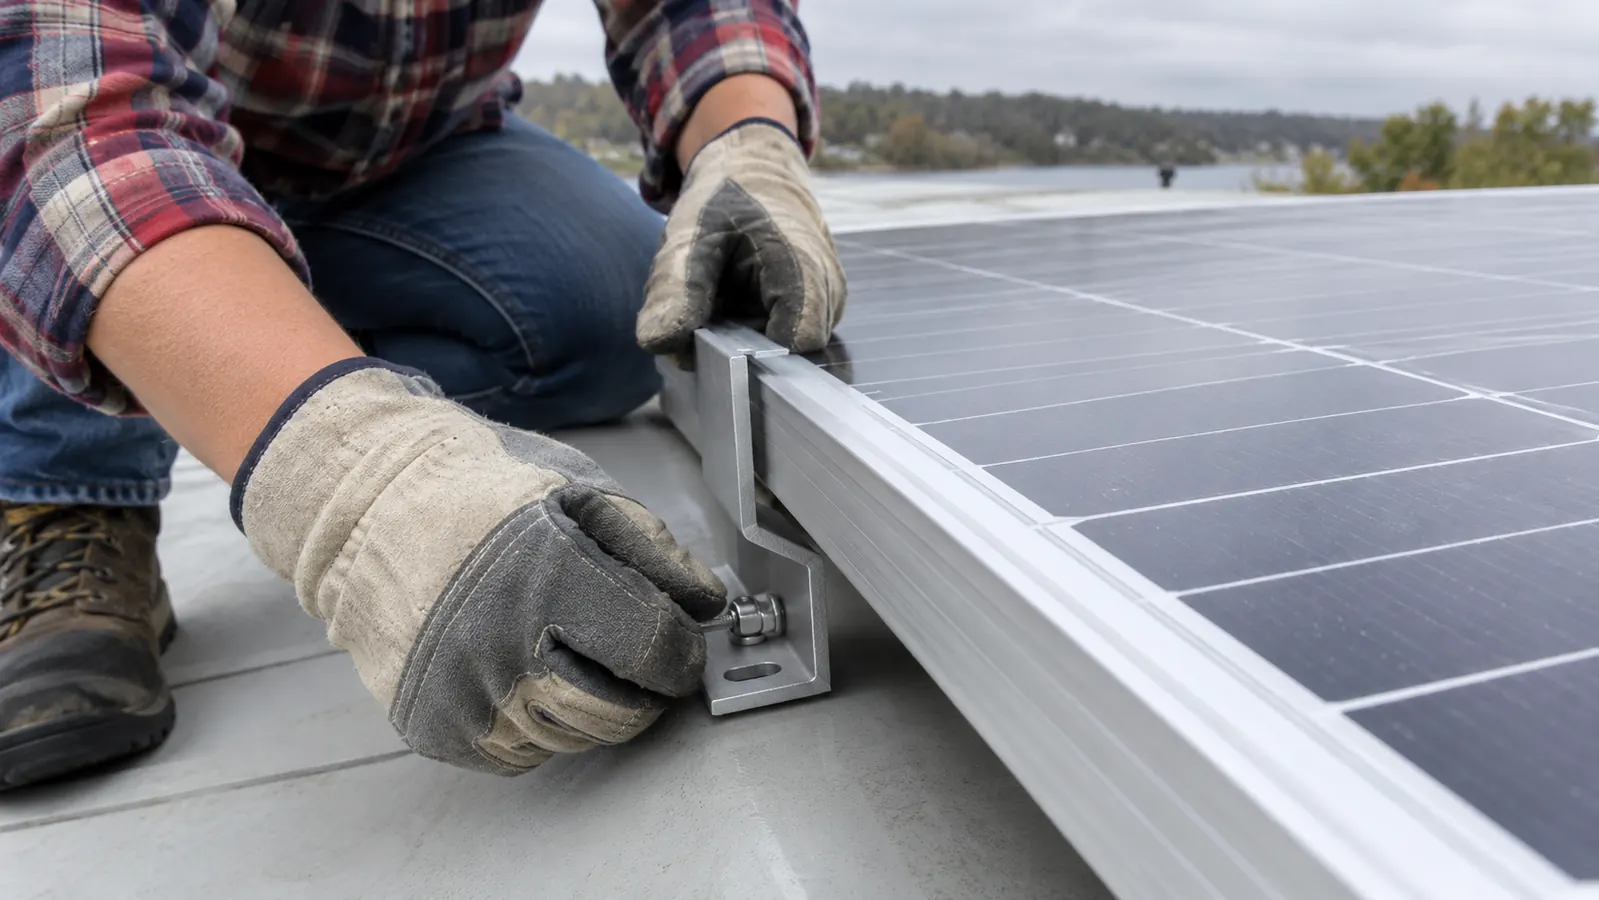
The Z mounting brackets are the part of the kit that makes this a job you can do in an afternoon. Each bracket has one flange that bolts to the frame of the panel and another that sits flat on the roof. Use the bolts that came with the kit for the panel side, and use stainless screws with a wide washer for the roof side. The kit hardware is sized for the aluminum frame, and the roof fasteners need to handle the extra bite of the roof material. I learned that distinction the first time I mounted a panel on a rubber roof, and it is the difference between a mount that stays put and one that works loose.
Apply a generous bead of RV roof sealant around every screw that goes into the roof. This is the step people skip, and it is the step that causes leaks two years later. I use a self-leveling lap sealant meant for rubber roofs, and I re-check the sealant every spring when I dewinterize. On my 2016 trailer, the roof is still sound because I treat every penetration like it is the only one. Let the sealant cure for the time stated on the tube before you set the panel down over it, and wipe away any excess while it is still wet.
Lift the panel onto the roof with a second person. A 100W panel is not heavy, but a 31.6-pound pair is awkward when you are reaching up from a ladder, and a dropped panel is a cracked cell. Once the panel is in place, snug the bracket bolts evenly, corner to corner, the same way you would torque a tire. The panel should not move when you push on a corner. If it does, tighten in small turns and check again. Two panels mounted flat and solid will outlast a lot of other gear on your trailer.
Step 3: Run the wires through a roof gland and down the side
The kit includes a pair of 16.4ft 10 AWG cables with MC4 connectors already attached. That length is enough for most travel trailers, but do not cut them until you have measured the actual path from the panels to your battery. On my 21-foot trailer, the run goes from the front roof panels to a roof gland near the refrigerator vent, then down inside the wall to the battery compartment. Measure twice and leave a little extra at both ends. A cable that is too short is a much bigger problem than one that is a little long.
A roof gland is a small plastic fitting that lets the cables pass through the roof without water following them. You drill one hole, set the gland in sealant, and run both cables through it. Leave a drip loop, a small U-shape in the cable right below the gland, so water runs down the cable and drips off instead of following it into the trailer. This is the kind of detail a school bus mechanic notices, because the same principle keeps water out of the wiring bays on buses. It takes thirty seconds to do and it saves you from a wet wall cavity.
Connect the panels to each other with the MC4 connectors first, then run the pair of wires down to the controller. The kit is built for 12V or 24V systems, so you can wire the panels to match your trailer. On my 12V trailer, I wired the two panels in parallel so both feed the controller at 12V. Keep the positive and negative runs tidy with a few cable clamps, and leave a little slack at the controller end so you can pull the controller out of its mount later if you need to.
Step 4: Mount the 30A PWM charge controller near the battery
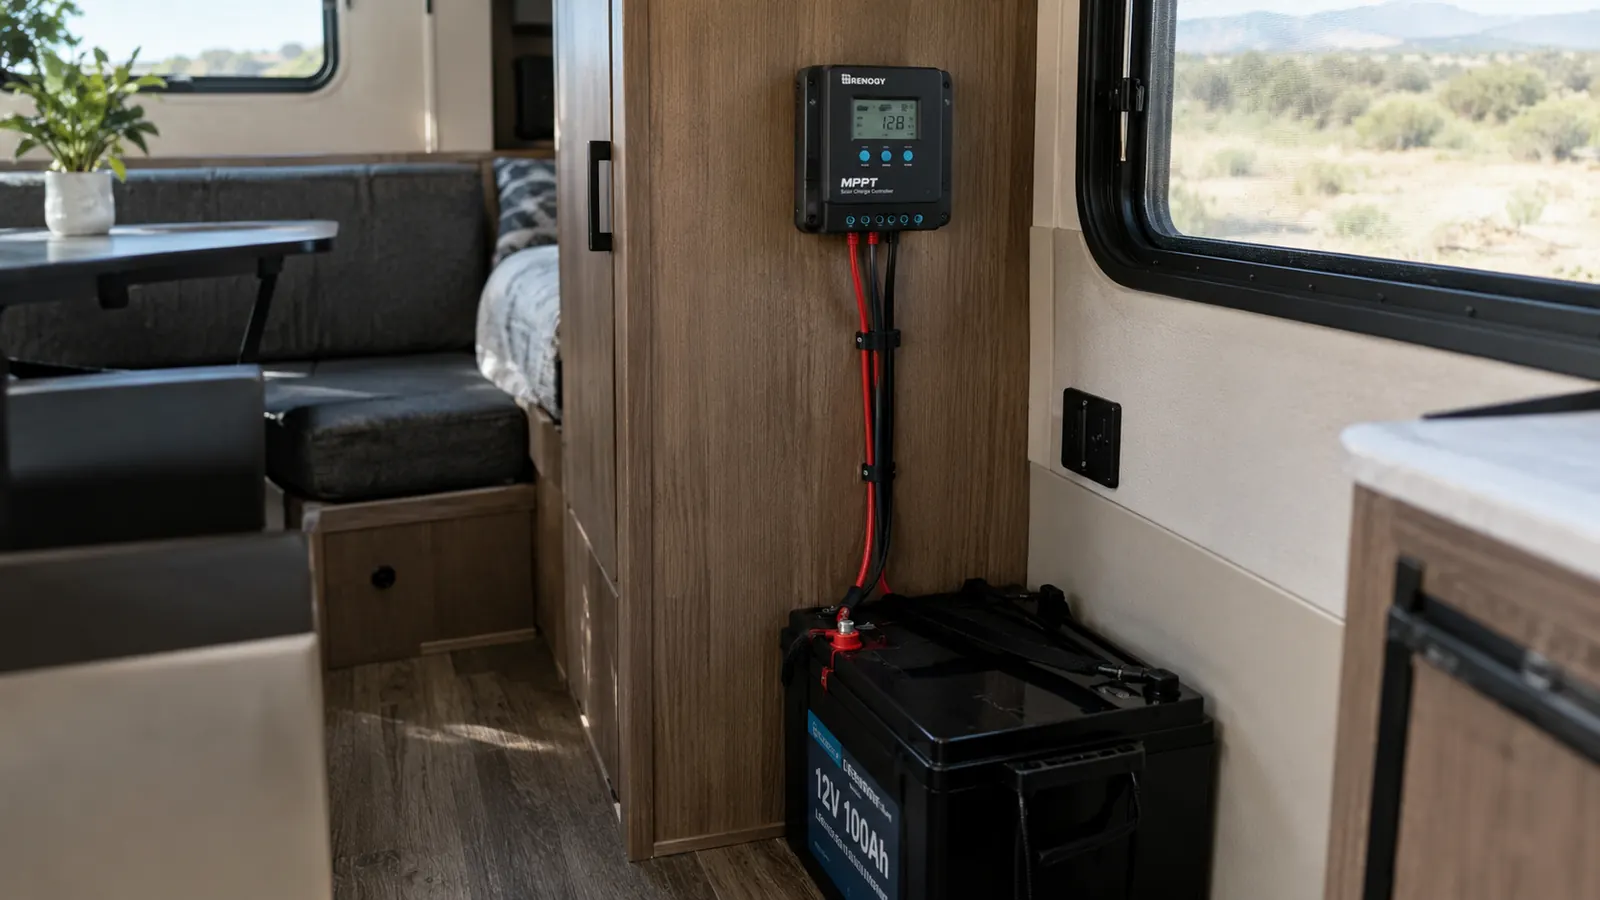
The charge controller in this kit is a 30A PWM unit, and it wants to live as close to the battery as practical. Short battery cables mean less voltage drop, and the controller needs to sense battery voltage accurately to do its job. I mounted mine on the inside wall of the cabinet that holds my battery, which keeps the wire run short and keeps the controller out of the weather. The controller manages the charge from the panels, and it does that quietly in the background. You want it somewhere you can reach it, but not somewhere it will get bumped by camp gear.
Wire the controller in this order: battery first, then solar. If you connect the solar panels before the battery, the controller can get confused and, in some cases, show a false reading. Battery first, then panels, and you will not have that problem. The same order applies to most PWM controllers, and it is worth following even if you have wired things backward before. I have, and the fix is always the same: disconnect everything, reconnect in the right order, and move on.
The 10 AWG cables from the roof connect to the controller's solar input, and a short pair of battery cables connects the controller to the battery terminals. Use ring terminals on the battery posts and make sure the connections are snug. A loose connection at the battery is the most common cause of a solar setup that seems to do nothing on a sunny day. I check the terminal connections twice a season, usually when I am already in the battery compartment for something else.
Step 5: Test the system and learn what your trailer can run
The moment of truth is the first sunny day. With the battery connected and the panels in full sun, the battery voltage should climb toward a full charge. The ECO-WORTHY kit is rated for a daily output of 800 watt-hours under four hours of full sunshine, which is a realistic number for a clear summer day in the Northeast. That is enough to keep my 12V fan running for the dogs in the afternoon, run the small fridge, and charge phones and a laptop. It is also enough to run a low-wattage kitchen appliance now and then, as long as I am not running everything at once.
Keep a notebook for the first two weeks. Write down the battery voltage in the morning, what you ran the day before, and whether the battery recovered by evening. That record tells you more than any spec sheet. On my setup, I learned that a cloudy day in Vermont means I plan for less, and that parking with the panels facing south adds a noticeable amount of charge. The panels are high-efficiency monocrystalline cells, rated up to 21.5%, and they still make power in overcast light. They just make less of it, and the notebook is what tells you how much less.
You will also learn what the system will not do. Two hundred watts will not run a rooftop air conditioner or an electric heater, and I do not try. It will comfortably handle lights, the fan, the fridge, and small appliances used one at a time. Knowing that boundary is what makes the system feel like a success instead of a disappointment. The kit is rated for a maximum power of 200 watts with an output of 12 volts DC, so think of it as a reliable daily top-up for your house battery rather than a replacement for shore power.
What Else Helps
A few things make the install easier and the system more useful. A battery monitor is the best addition after the kit itself, because it shows you what is going in and out instead of making you guess from voltage. A pair of solar panel tilt brackets, if your roof layout allows them, can add meaningful charge in spring and fall when the sun sits lower. And a small 12V fan, the kind I run for the dogs on warm afternoons, is the appliance that made solar worth it for me. None of these are required, but all of them made my first season with the ECO-WORTHY kit more comfortable.
One more thing: keep your panels clean. A dusty panel in the middle of a dry spell can lose a surprising amount of output, and on a travel trailer the roof collects pollen, pine needles, and road film. I wipe mine down with a soft cloth and water whenever I wash the trailer, and I check the MC4 connections for corrosion at the same time. The aluminum frames are built to take weather, but a little care keeps the whole system working at its rated 200 watts.
Battery first, then solar. That wiring order has saved me more headaches than any other single habit I learned with this kit.
The kit that made my off-grid setup boring in a good way
The ECO-WORTHY 200W Solar Panel Kit has been on my trailer roof for two full seasons. It includes the panels, brackets, controller, and cables, so the only things I added were sealant and a little patience. If you are ready to stop worrying about the battery, check today's price on Amazon.
Amazon Check Today's Price on Amazon →